Start recording
In a Teams meeting, one person can record at a time. When you start recording a meeting, everyone will be notified automatically. You can also turn on live transcriptions and view them during the meeting.
To start a meeting recording:
-
Start or join the meeting.
-
In your meeting controls, select More actions  > Record and transcribe
  > Start recording .
Notes: Meeting recordings won't capture:
-
More than four peoples' video streams at once
-
Whiteboards and annotations
-
Shared notes
-
Content shared by apps
-
Videos or animations embedded in PowerPoint Live presentations
Stop recording
-
In the meeting controls, select More actions > Record and transcribe .
-
Choose one of the following:
Important:
-
After a recording stops, it's processed and saved to Stream. Then, it's ready to play.
-
When a recording is available, the meeting organizer will receive an email. The recording will appear in the meeting chat or channel.
-
If an admin has set a company policy for saving to Stream, accept it before recording.
Find recordings
Recordings are available in different places depending on the type of meeting.
Note: For now, guests and external attendees can view the recording only if it's explicitly shared with them.
Who can start or stop a recording?
Anyone who meets the following criteria can start or stop a recording if the meeting organizer has their cloud recording policy setting turned on:
-
Has one of the following licenses: Office 365 Enterprise E1, E3, E5, F3, A1, A3, A5, M365 Business, Business Premium, or Business Essentials.
-
Has recording enabled by an IT admin.
-
Isn't a guest or from another organization.
The organizer doesn't need to be present.
|
Type of user
|
Can start recording?
|
Can stop recording?
|
|
Meeting organizer
|
|
|
|
Person from same org
|
|
|
|
Person from another org or company
|
|
|
|
Guest
|
|
|
|
Anonymous
|
|
|
Notes:
-
Recording continues even if the person who started the recording leaves the meeting.
-
The recording stops automatically once everyone leaves the meeting. If someone forgets to leave, the recording will end and automatically restart every four hours until the last participant leaves the meeting.
-
If one of the participants has a policy for compliance recording, the meeting will be recorded according to the policy even if that participant is from another org.
Choose who can record and transcribe
With Teams Premium, meeting organizers can easily manage who can record when scheduling Teams meetings. There are two options for who can record a meeting: organizers and co-organizers, or organizers and presenters.
See Roles in a Teams meeting for details about selecting presenters and changing someone's role before and during a meeting.
Manage the expiration of a meeting recording
Your admin settings determine a recording's expiration. To change the expiration of a meeting recording:
Important: You must have edit permission for the recording to change the expiration date. Generally speaking, the meeting organizer and co-organizers are automatically granted edit permission.
-
Find the recording in the meeting chat, then open the recording in Stream.
-
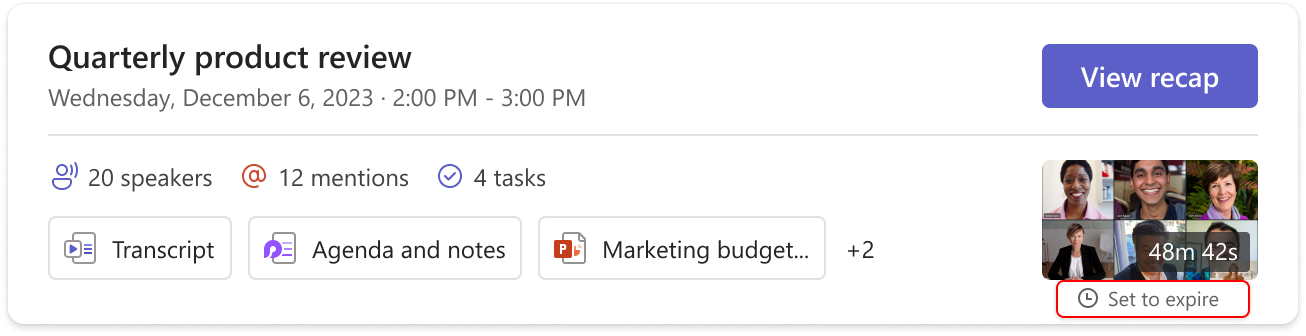
For the recap message, hover over "Set to expire" beneath the recording thumbnail. In the popout tooltip, click the "View or change" link to open the recording in Stream.
-
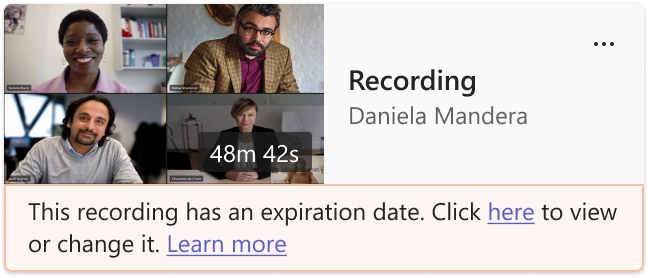
For the recording message, click the "here" link to open the recording in Stream.
-
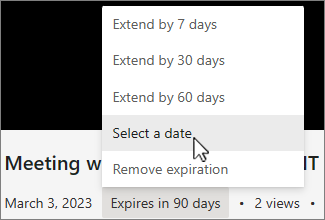
On the Stream page, select the expiration countdown beneath the video. Change the expiration by selecting a timeframe from the dropdown menu. You can also choose Remove expiration if you don't want it to be deleted.